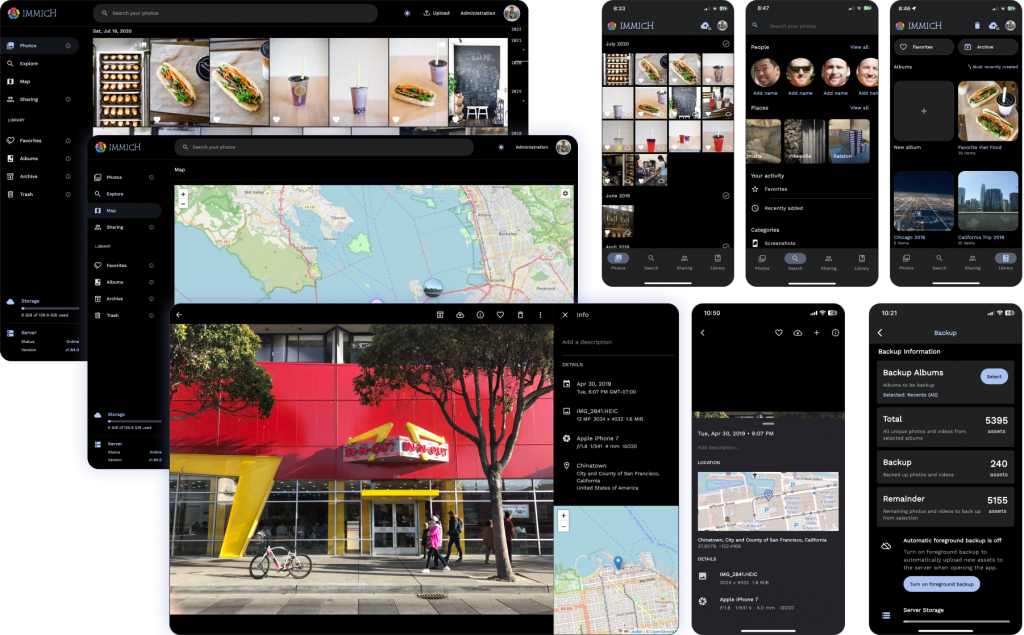
之前的时候immich在我的e3 1265l的机器上无法运行,缺少avx支持,现在新版已经不需要这个了,可以运行成功自动分类了。

安装也有变化,多了个typesense。
官方安装文档:https://immich.app/docs/install/docker-compose
内容如下:
Step 1 – Download the required files
创建一个immich的根目录,用于存放immich相关的文件,已经运行容器的目录
mkdir ./immich-appcd ./immich-app
cd ./immich-app下载docker-compose.yml and example.env,
wget https://github.com/immich-app/immich/releases/latest/download/docker-compose.yml我做了修改,主要是修改postgres的数据目录与typesense的数据目录,方便备份,官方的是通过docker自行创建的,不便于备份恢复。
version: "3"

#
# WARNING: Make sure to use the docker-compose.yml of the current release:
#
# https://github.com/immich-app/immich/releases/latest/download/docker-compose.yml
#
# The compose file on main may not be compatible with the latest release.
#


services:
  immich-server:
    container_name: immich_server
    image: ghcr.io/immich-app/immich-server:${IMMICH_VERSION:-release}
    command: [ "start.sh", "immich" ]
    volumes:
      - ${UPLOAD_LOCATION}:/usr/src/app/upload
      - /etc/localtime:/etc/localtime:ro
    env_file:
      - .env
    ports:
      - 2283:3001
    depends_on:
      - redis
      - database
      - typesense
    restart: always

  immich-microservices:
    container_name: immich_microservices
    image: ghcr.io/immich-app/immich-server:${IMMICH_VERSION:-release}
    # extends:
    #   file: hwaccel.yml
    #   service: hwaccel
    command: [ "start.sh", "microservices" ]
    volumes:
      - ${UPLOAD_LOCATION}:/usr/src/app/upload
      - /etc/localtime:/etc/localtime:ro
    env_file:
      - .env
    depends_on:
      - redis
      - database
      - typesense
    restart: always

  immich-machine-learning:
    container_name: immich_machine_learning
    image: ghcr.io/immich-app/immich-machine-learning:${IMMICH_VERSION:-release}
    volumes:
      - model-cache:/cache
    env_file:
      - .env
    restart: always

  typesense:
    container_name: immich_typesense
    image: typesense/typesense:0.24.1@sha256:9bcff2b829f12074426ca044b56160ca9d777a0c488303469143dd9f8259d4dd
    environment:
      - TYPESENSE_API_KEY=${TYPESENSE_API_KEY}
      - TYPESENSE_DATA_DIR=/data
      # remove this to get debug messages
      - GLOG_minloglevel=1
    volumes:
      - /srv/dev-disk-by-label-data/databases/immich_typesense/tsdata:/data
    restart: always

  redis:
    container_name: immich_redis
    image: redis:6.2-alpine@sha256:80cc8518800438c684a53ed829c621c94afd1087aaeb59b0d4343ed3e7bcf6c5
    restart: always

  database:
    container_name: immich_postgres
    image: postgres:14-alpine@sha256:50d9be76e9a90da4c781554955e0ffc79d9d5c4226838e64b36aacc97cbc35ad
    env_file:
      - .env
    environment:
      POSTGRES_PASSWORD: ${DB_PASSWORD}
      POSTGRES_USER: ${DB_USERNAME}
      POSTGRES_DB: ${DB_DATABASE_NAME}
    volumes:
      - /srv/dev-disk-by-label-data/databases/immich_postgres/pgdata:/var/lib/postgresql/data
    restart: always

volumes:
  model-cache:
下载env文件,这个文件是immich的配置文件,创建容器的时候会读取这里面的配置:
wget -O .env https://github.com/immich-app/immich/releases/latest/download/example.env修改env文件的TYPESENSE_API_KEY,设置一个api key,长一点的,恢复容器的时候这个key要保持一致。
修改UPLOAD_LOCATION,这个就是指定immich上传的图片的存放路径,如果不修改的话,就会在最开始创建的./immich-app中,因为我们要在这个目录启动容器。
其他的不需要修改
(可选) Get hwaccel.yml 文件是转码配置,用不到的吧。
wget https://github.com/immich-app/immich/releases/latest/download/hwaccel.yml启动容器即可,启动后访问nas的2283端口即可。
docker-compose up -d # or `docker compose up -d` based on your docker-compose version升级容器。
docker-compose pull && docker-compose up -d # Or `docker compose up -d` DongVPS